Damp proofing a wall means stopping unwanted moisture at its source and choosing a treatment that suits the type of wall and the cause of the damp. The right method may involve repairs, a damp-proof course, a membrane, tanking or new plaster.
Before any treatment starts, identify whether the moisture is caused by rising damp, penetrating damp, condensation, a leak or water entering below ground level. Treating the wrong cause can waste money and may allow the damage to continue.
What Does Damp Proofing a Wall Involve?
Wall damp proofing is not one single treatment. It is a group of methods used to stop or manage moisture that is entering, rising through or forming on a wall.
The correct method depends on where the water comes from. Rising damp may need work to the damp-proof course. Penetrating damp may need repairs to brickwork, pointing, gutters or render. Below-ground walls may need a waterproof barrier or drainage system.
Condensation is different because the moisture comes from indoor air. Better ventilation, steady heating and reducing indoor moisture can help, but these steps will not repair water entering through the building.
How Common Are Damp Problems in England?
The latest English Housing Survey figures show that 1.4 million homes in England, or 5%, had a significant damp problem recorded by a surveyor in 2024.
Damp was most common in the private rented sector, where 10% of homes were affected. This compared with 7% of social rented homes and 4% of owner occupied homes.
Severe condensation was the most common recorded form of damp at 3%. Penetrating damp affected around 2% of homes, while rising damp was recorded in around 1%.
Separate English Housing Survey findings for 2024 to 2025 found that 31% of households reported some condensation, damp or mould. Surveyors recorded significant damp in 6% of households, and 142,000 households, or 0.6%, lived with the most serious Category 1 damp and mould hazards.
- 1.4 million homes in England had significant damp in 2024
- 5% of all homes had a damp problem recorded by a surveyor
- 10% of private rented homes had damp
- 31% of households reported condensation, damp or mould in 2024 to 2025
- Rising damp was recorded in around 1% of homes in 2024
These figures use different measures. The 2024 dwelling figure covers significant damp recorded during a physical survey, while the 2024 to 2025 household figure includes problems reported by residents. They should not be compared as if they are the same test.
The figures also show why diagnosis matters. A wall can look damp for several reasons, and the treatment should match the source rather than the appearance of the stain.
Step 1: Find the Source of the Damp
Start by checking where the damp appears, how high it reaches and whether it becomes worse after rain, cold weather or use of a nearby bathroom or kitchen.
Look outside for cracked render, damaged pointing, overflowing gutters, leaking downpipes, blocked drains and paving or soil that sits too high against the wall.
Inside, check for plumbing leaks, damp around windows, mould in corners and moisture behind furniture. These signs can help separate penetrating damp, condensation and leaks from rising damp.
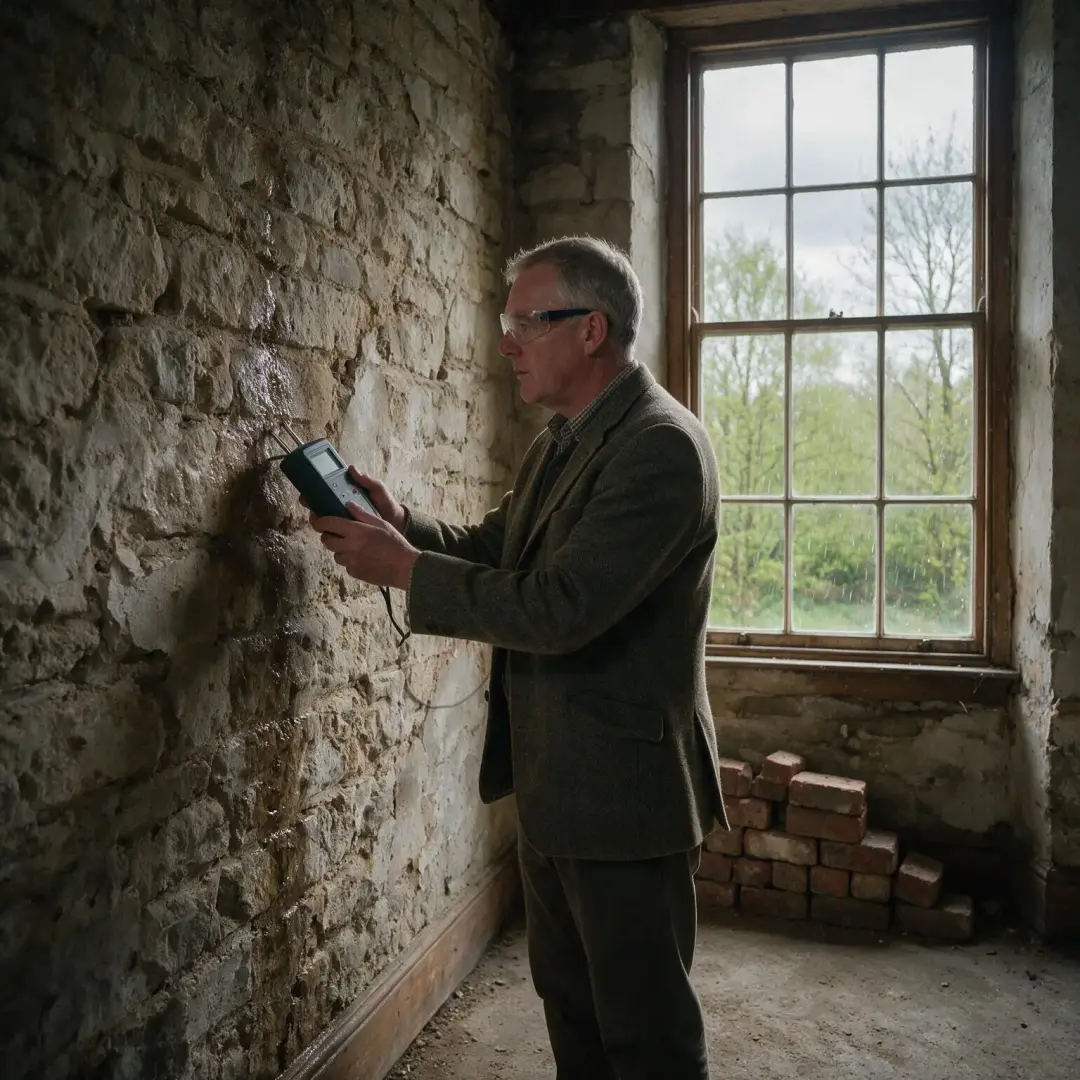
If the cause is not clear, arrange a damp survey before paying for major work. A treatment is much more likely to succeed when the source of the water has been confirmed first.
Related guides for damp proofing and moisture problems:
Step 2: Check the Damp-Proof Course and Ground Level
A damp-proof course is a barrier built into a wall to reduce moisture rising from the ground. In many buildings it can be seen as a line in the mortar close to the base of the outside wall.
A working damp-proof course can still be bypassed if wet soil, paving, render, plaster or debris creates a route around it. This is known as bridging.
Check Soil and Paving Levels
Soil, paving or concrete that reaches above the damp-proof course can allow moisture to bypass it. Where practical, outside surfaces should normally remain below the barrier and should drain away from the building.
Check Render and Internal Plaster
Check Wall Cavities
Step 3: Repair Gutters, Pipes, Brickwork and Render
Penetrating damp happens when water enters through the outside of the building. Damp proofing will not last if rainwater can still reach the wall through a defect.
Clear and repair gutters and downpipes so water is carried away without spilling down the wall. Check drains and gullies for blockages, leaks and standing water near the building.
Repair failed pointing, cracks in render and gaps around external pipes where rain can enter. Damaged bricks may also need attention if their condition is allowing repeated water entry.
Complete these repairs before applying internal finishes. The wall may need time to dry after the source of water has been stopped.
Step 4: Choose the Right Damp-Proofing Method
Once the source is known, choose a method that matches the problem. There is no single product that is suitable for every damp wall.
For confirmed rising damp, work may include removing bridges to the existing damp-proof course or installing a new chemical damp-proof course where appropriate. The wall construction should be checked before this is done.
For walls below ground level, waterproof tanking or a cavity drainage membrane may be used as part of a designed system. These methods must deal with water pressure and provide a safe route for moisture where needed.
For penetrating damp, the main treatment is usually the outside repair that stops rain entering. Internal waterproof paint alone can hide the symptom without correcting the cause.
Older solid walls often need a different approach from modern cavity walls. Materials and finishes should allow the wall to manage moisture in a way that suits its original construction.
Step 5: Remove Damaged Plaster Where Needed
Damp can leave salts in plaster. These salts may continue to attract moisture and can spoil new paint or wallpaper even after the original water source has been repaired.
Where plaster is badly damaged or salt contaminated, it may need to be removed back to a suitable height and replaced with a system designed for the wall and the treatment used.
Do not remove sound plaster simply because a moisture meter gives a high reading. The extent of replacement should be based on the condition of the material and the diagnosis.
Take care around electrical sockets, cables and hidden services before removing plaster. If there is any doubt, use a suitably qualified professional.
After repair, allow the wall to dry before final decoration. Thick masonry can take a long time to release stored moisture.
Step 6: Damp Proof Internal Walls Without Trapping Moisture
Internal wall treatments can include specialist render, membranes or waterproof coatings, but the correct choice depends on the cause and the wall construction.
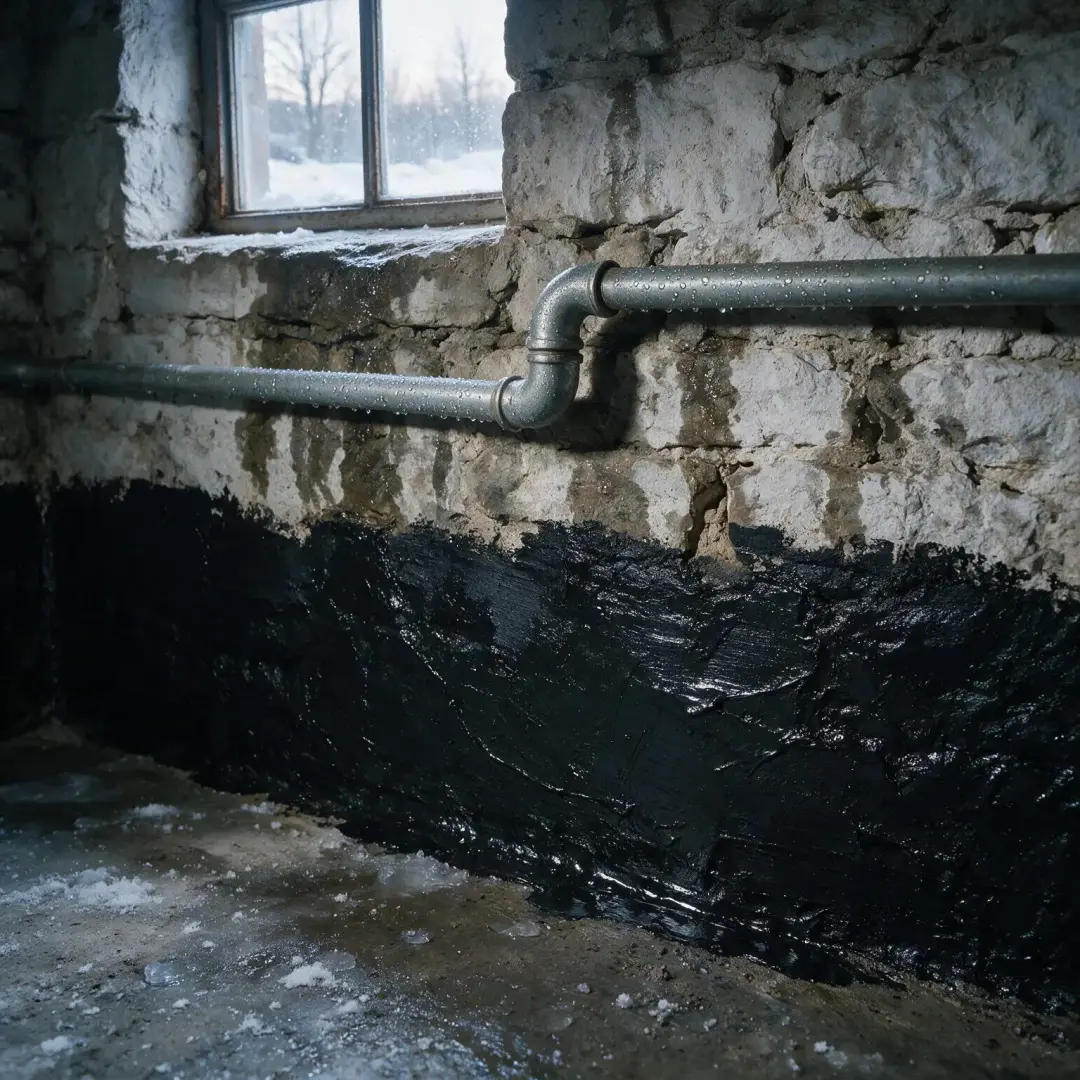
A membrane can create a physical separation between a damp wall and the new internal finish. In below-ground rooms, it may form part of a cavity drainage system that directs water to a drain or pump.
Waterproof coatings can be suitable in some designed systems, but they should not be used as a quick cover over unexplained damp. If moisture remains in the wall, trapping it may move the problem or damage nearby materials.
For older walls built with lime mortar or other permeable materials, a more breathable repair may be more suitable. Get advice from someone familiar with traditional buildings before adding dense waterproof finishes.
Step 7: Damp Proof External Walls by Fixing the Building Fabric
External damp proofing starts with keeping rain out. Check the roof edges, gutters, downpipes, flashing, pointing, render and seals around openings.
Cracked or loose render should be repaired with a material suitable for the wall. Failed mortar joints may need repointing so rain cannot soak deeply into the masonry.
Water-repellent treatments are not a replacement for repairs. They should only be considered when the wall is suitable, the cause of damp has been confirmed and the product will not trap moisture.
Keep air bricks and ventilation openings clear. Do not raise paths, soil or decking over the damp-proof course or block routes that help the building dry.
After repairs, monitor the wall through wet and dry weather before redecorating. This helps confirm that the source has been controlled.
How Is a Chemical Damp-Proof Course Installed?
A chemical damp-proof course is one possible treatment for confirmed rising damp where a suitable barrier is missing or no longer effective. It should not be the first response to every low-level damp mark.
The usual process involves drilling a line of holes into the mortar bed and introducing a damp-proofing cream or fluid. The product spreads into the masonry and forms a water-resistant zone.
The position, spacing and depth of the holes depend on the wall and the product being used. Thick, rubble-filled or irregular stone walls can need a different approach from standard brickwork.
Salt-damaged plaster may also need to be replaced as part of the work. This is separate from the new damp-proof course and helps protect the new finish from contamination.
Before installation, rule out leaks, high ground levels, blocked drainage and bridging. Installing a new barrier without fixing these faults can leave the wall damp.
How Do You Damp Proof a Wall Below Ground Level?
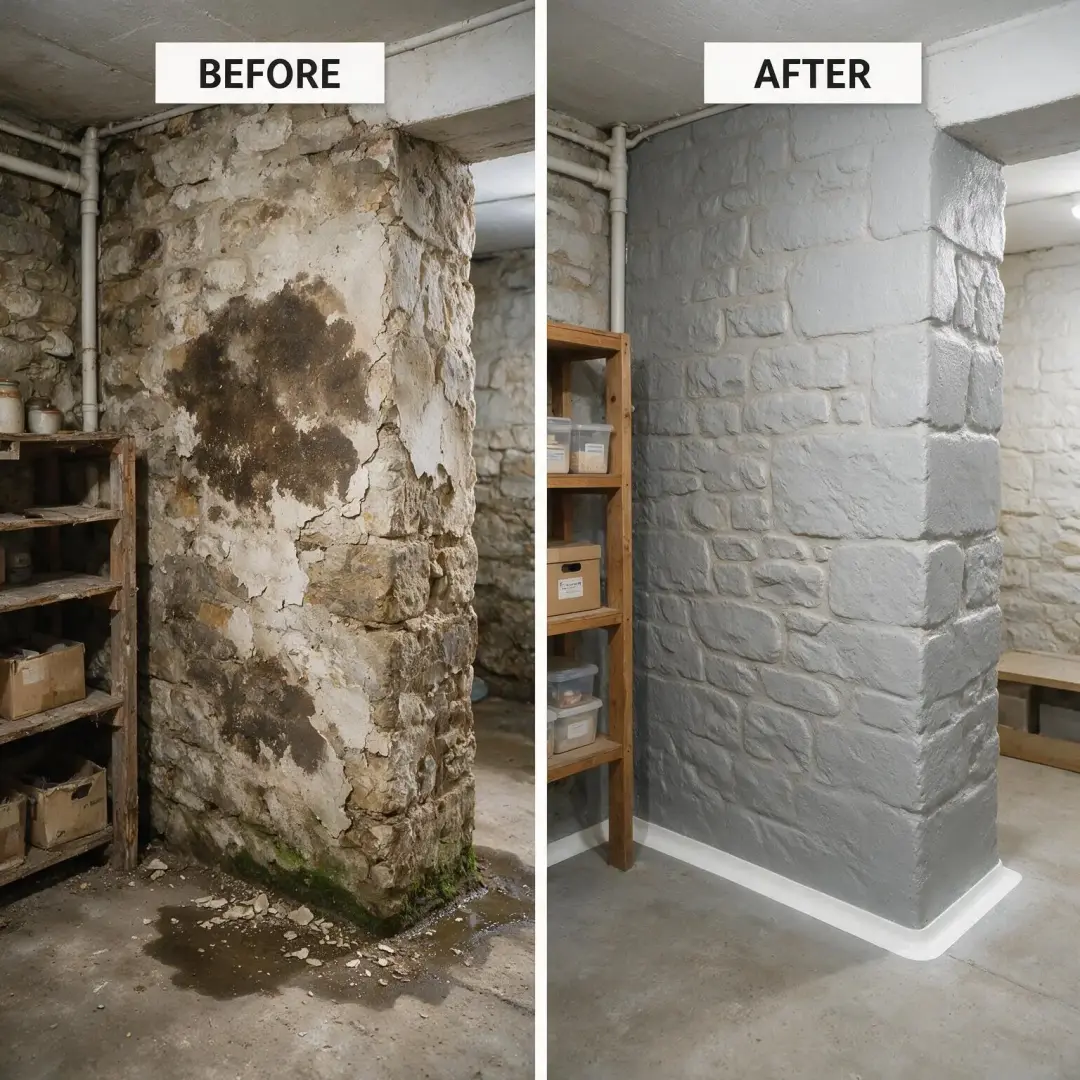
Basement and cellar walls are in direct contact with the ground, so they can be affected by moisture under pressure. A normal damp-proof course is not enough to waterproof the whole wall.
One option is tanking, which uses a waterproof layer bonded to the wall and sometimes the floor. The surface must be prepared carefully and weak or contaminated material may need to be removed first.
Another option is a cavity drainage membrane. This creates a controlled space between the wall and the internal finish so water can be directed to a drain or a pump system.
The wall and floor junction is especially important. A complete below-ground system should consider both surfaces, drainage, service penetrations and what happens if water levels rise after heavy rain.
Because failure can allow a large amount of water into a finished room, below-ground waterproofing is usually best designed and installed by people with suitable experience.
- Confirm whether the cause is rising damp, penetrating damp, condensation, a leak or below-ground water
- Repair gutters, downpipes, drains, pointing, render and plumbing faults first
- Check that soil and paving are not bridging the damp-proof course
- Choose a damp-proof course only where rising damp has been properly diagnosed
- Use tanking or a cavity drainage membrane for suitable below-ground applications
- Remove damaged or salt-contaminated plaster where the repair system requires it
- Allow the wall enough time to dry before final decoration
- Keep the property maintained so the moisture problem does not return
This checklist is a useful order for damp-proofing work because it starts with the cause and building repairs before moving to barriers and finishes.
If the damp is widespread, keeps returning or has affected timber, plaster or electrics, arrange a detailed inspection before starting major work.
When Should You Get a Damp Survey?
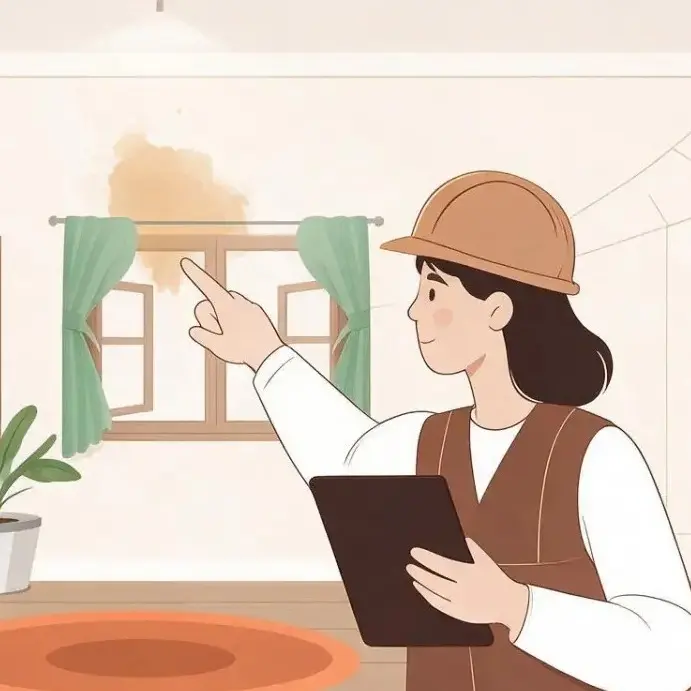
Arrange a survey when the cause is unclear, the damp keeps returning, several walls are affected or you are considering a major damp-proofing system.
A good inspection should consider the age and construction of the property, outside ground levels, the damp-proof course, drainage, gutters, pipes, ventilation and wall finishes.
Moisture readings can support an inspection, but they should not be treated as proof of one specific type of damp on their own.
Ask for an explanation of the likely source, the evidence behind the diagnosis and the order in which repairs should be carried out.
For an older, listed or traditionally built property, choose someone who understands solid walls and traditional materials.
How Long Does a Damp Wall Take to Dry?
There is no fixed drying time for every damp wall. The time depends on the wall thickness, material, temperature, ventilation, amount of stored moisture and how long the wall was wet.
A surface may look dry before moisture deeper in the wall has reduced. Decorating too early can lead to staining, peeling paint or damage to new finishes.
Keep the room safely ventilated and heated at a steady level while the wall dries. Do not use a finish that seals in moisture unless it forms part of the specified damp-proofing system.
If new wet patches appear after the repair, check whether the original source has really been stopped or whether a second moisture problem is present.
How Can You Stop Damp Coming Back?
Inspect gutters, downpipes and drains regularly and repair leaks before they soak the wall for long periods.
Keep outside soil, paths and paving below the damp-proof course where one is present, and make sure water runs away from the building rather than towards it.
Keep air bricks and other ventilation openings clear. Inside the home, use suitable ventilation in kitchens and bathrooms to reduce condensation.
Check external paint, pointing and render for new cracks or gaps after severe weather or building work.
If damp returns in the same place after treatment, do not simply cover it again. Recheck the diagnosis and look for a remaining source of water.
Follow the links below for damp proofing, surveys and related property services across Bedford, Luton, Bedfordshire and Buckinghamshire:
Rising Damp Treatment
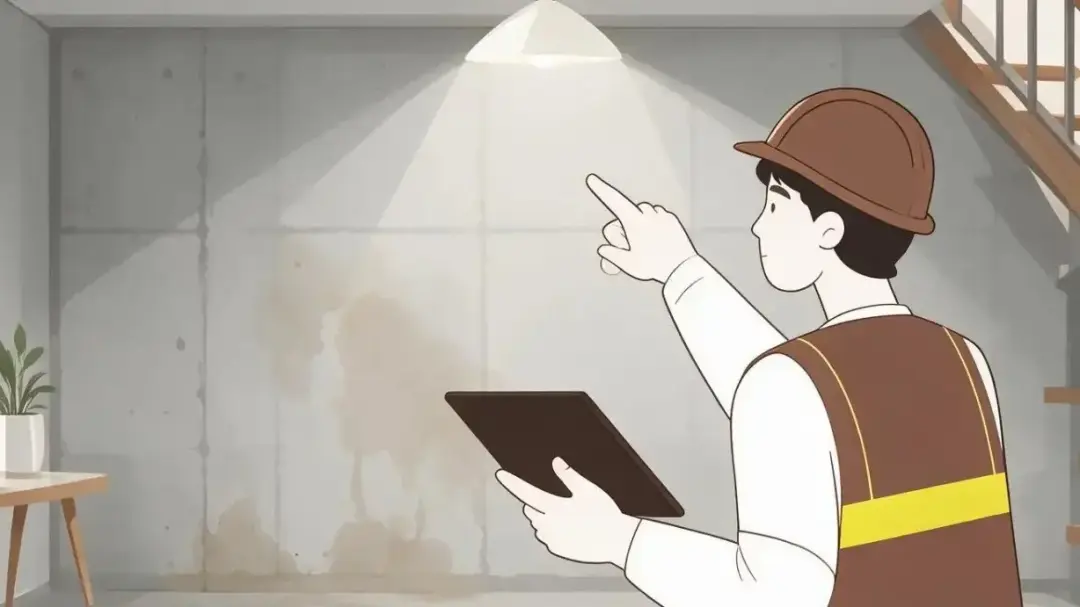
A professional survey can identify whether moisture is rising from the ground or coming from another source. The findings help guide the correct treatment.
Cellar Tanking
Cellar tanking helps keep basements dry by creating a waterproof barrier that stops moisture from entering through walls and floors.
Timber Treatment
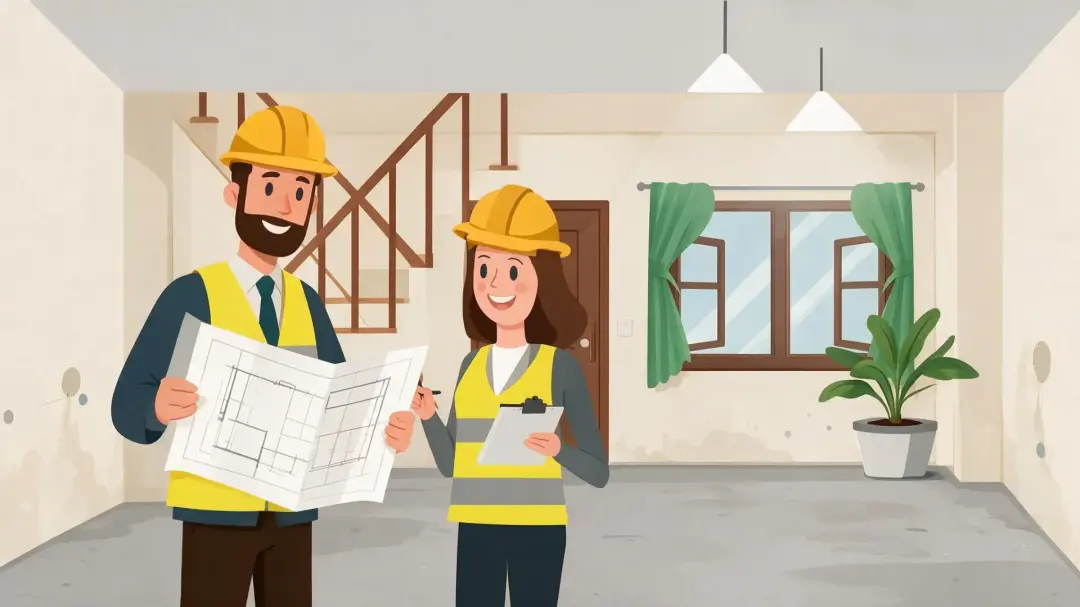
Our timber treatment service protects wooden parts of a property from rot, damp and insect damage, helping them stay strong and last longer.
Damp Proof Course Installation
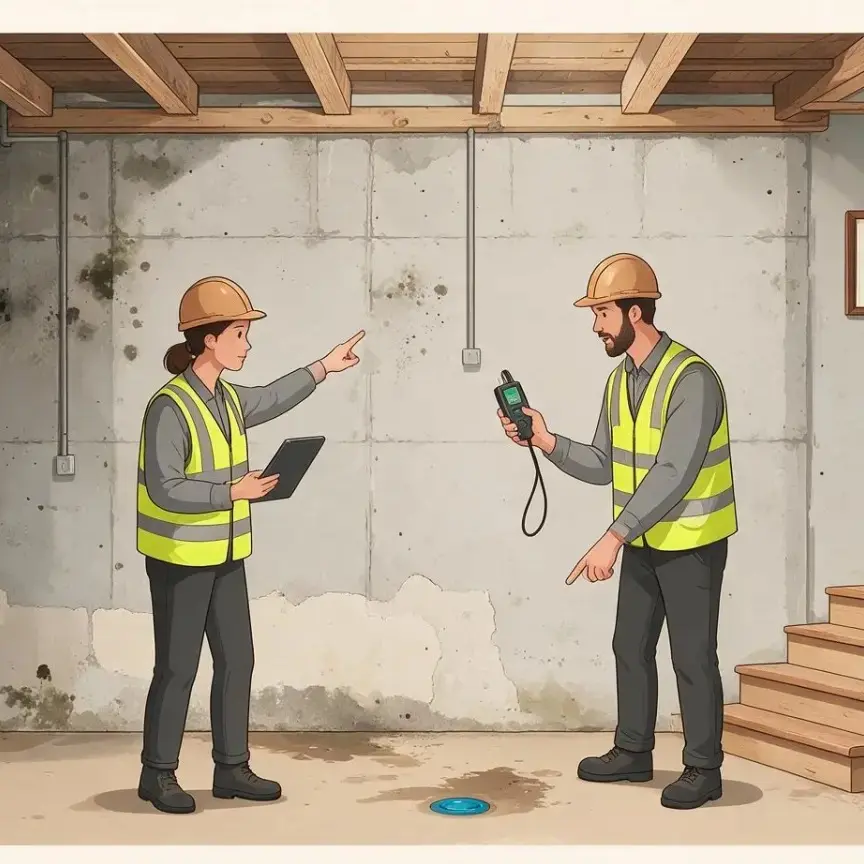
Damp proof course installation helps protect a property from unwanted moisture and the damage it can cause.
Basement Conversions
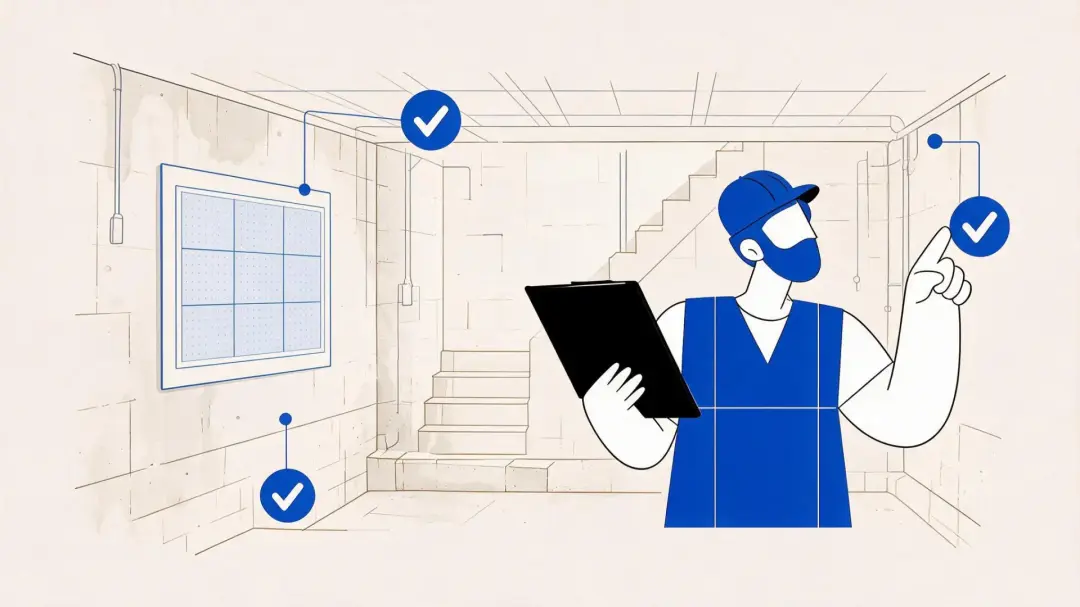
Basement conversions turn unused lower-ground spaces into dry, practical rooms for living, working or storage.
Damp Surveys
Damp surveys identify moisture problems, their likely causes and the treatment needed.
Frequently Asked Questions
What Is the Best Way to Damp Proof a Wall?
The best method depends on the cause. Rising damp may require work to the damp-proof course, penetrating damp needs the outside defect repaired, and below-ground walls may need tanking or a cavity drainage system.
Can You Damp Proof a Wall Yourself?
Not always. Small maintenance repairs can sometimes be completed by a homeowner, but damp-proof course installation, below-ground waterproofing and work where the diagnosis is uncertain are usually better handled by a suitable professional.
Why Can Damp Return After Treatment?
It can fail if the original source of water was not fixed, the wrong treatment was chosen, the system was installed badly or moisture found another route around the barrier.
Can You Paint a Wall After Damp Proofing?
Yes, but only after the source has been repaired and the wall is ready. Salt contamination and remaining moisture can damage new finishes, so the correct plaster and paint system matters.
How to Damp Proof Walls: A Simple Order of Work
First, identify the type and source of damp. Check the wall inside and outside, and note whether the problem changes after rain, cold weather or use of nearby water services.
Second, stop water entering. Repair plumbing leaks, gutters, downpipes, drains, pointing, render and other building defects. Correct high outside ground levels or bridging where this is causing moisture to bypass the damp-proof course.
Third, choose the treatment that matches the diagnosis. This may be a damp-proof course for confirmed rising damp, a membrane or tanking system for suitable below-ground walls, or building repairs for penetrating damp.
Fourth, remove damaged or salt-contaminated plaster where required by the repair system. Replace it with a finish that suits the wall and the damp-proofing method.
Fifth, allow the structure to dry and monitor it before final decoration. Use suitable ventilation and steady heating, but do not rely on these measures to solve water entering through the building.
Finally, keep gutters, drains, ground levels, pointing and ventilation in good condition. Regular maintenance reduces the chance that damp will return.
The most effective wall damp proofing starts with a correct diagnosis. Aquafoss recommends fixing the source of moisture first, then using a damp-proofing system that suits the wall, the building and the type of damp.
Complete the form below to arrange a damp survey or inspection for homes and businesses throughout Bedfordshire, Buckinghamshire and the surrounding areas.